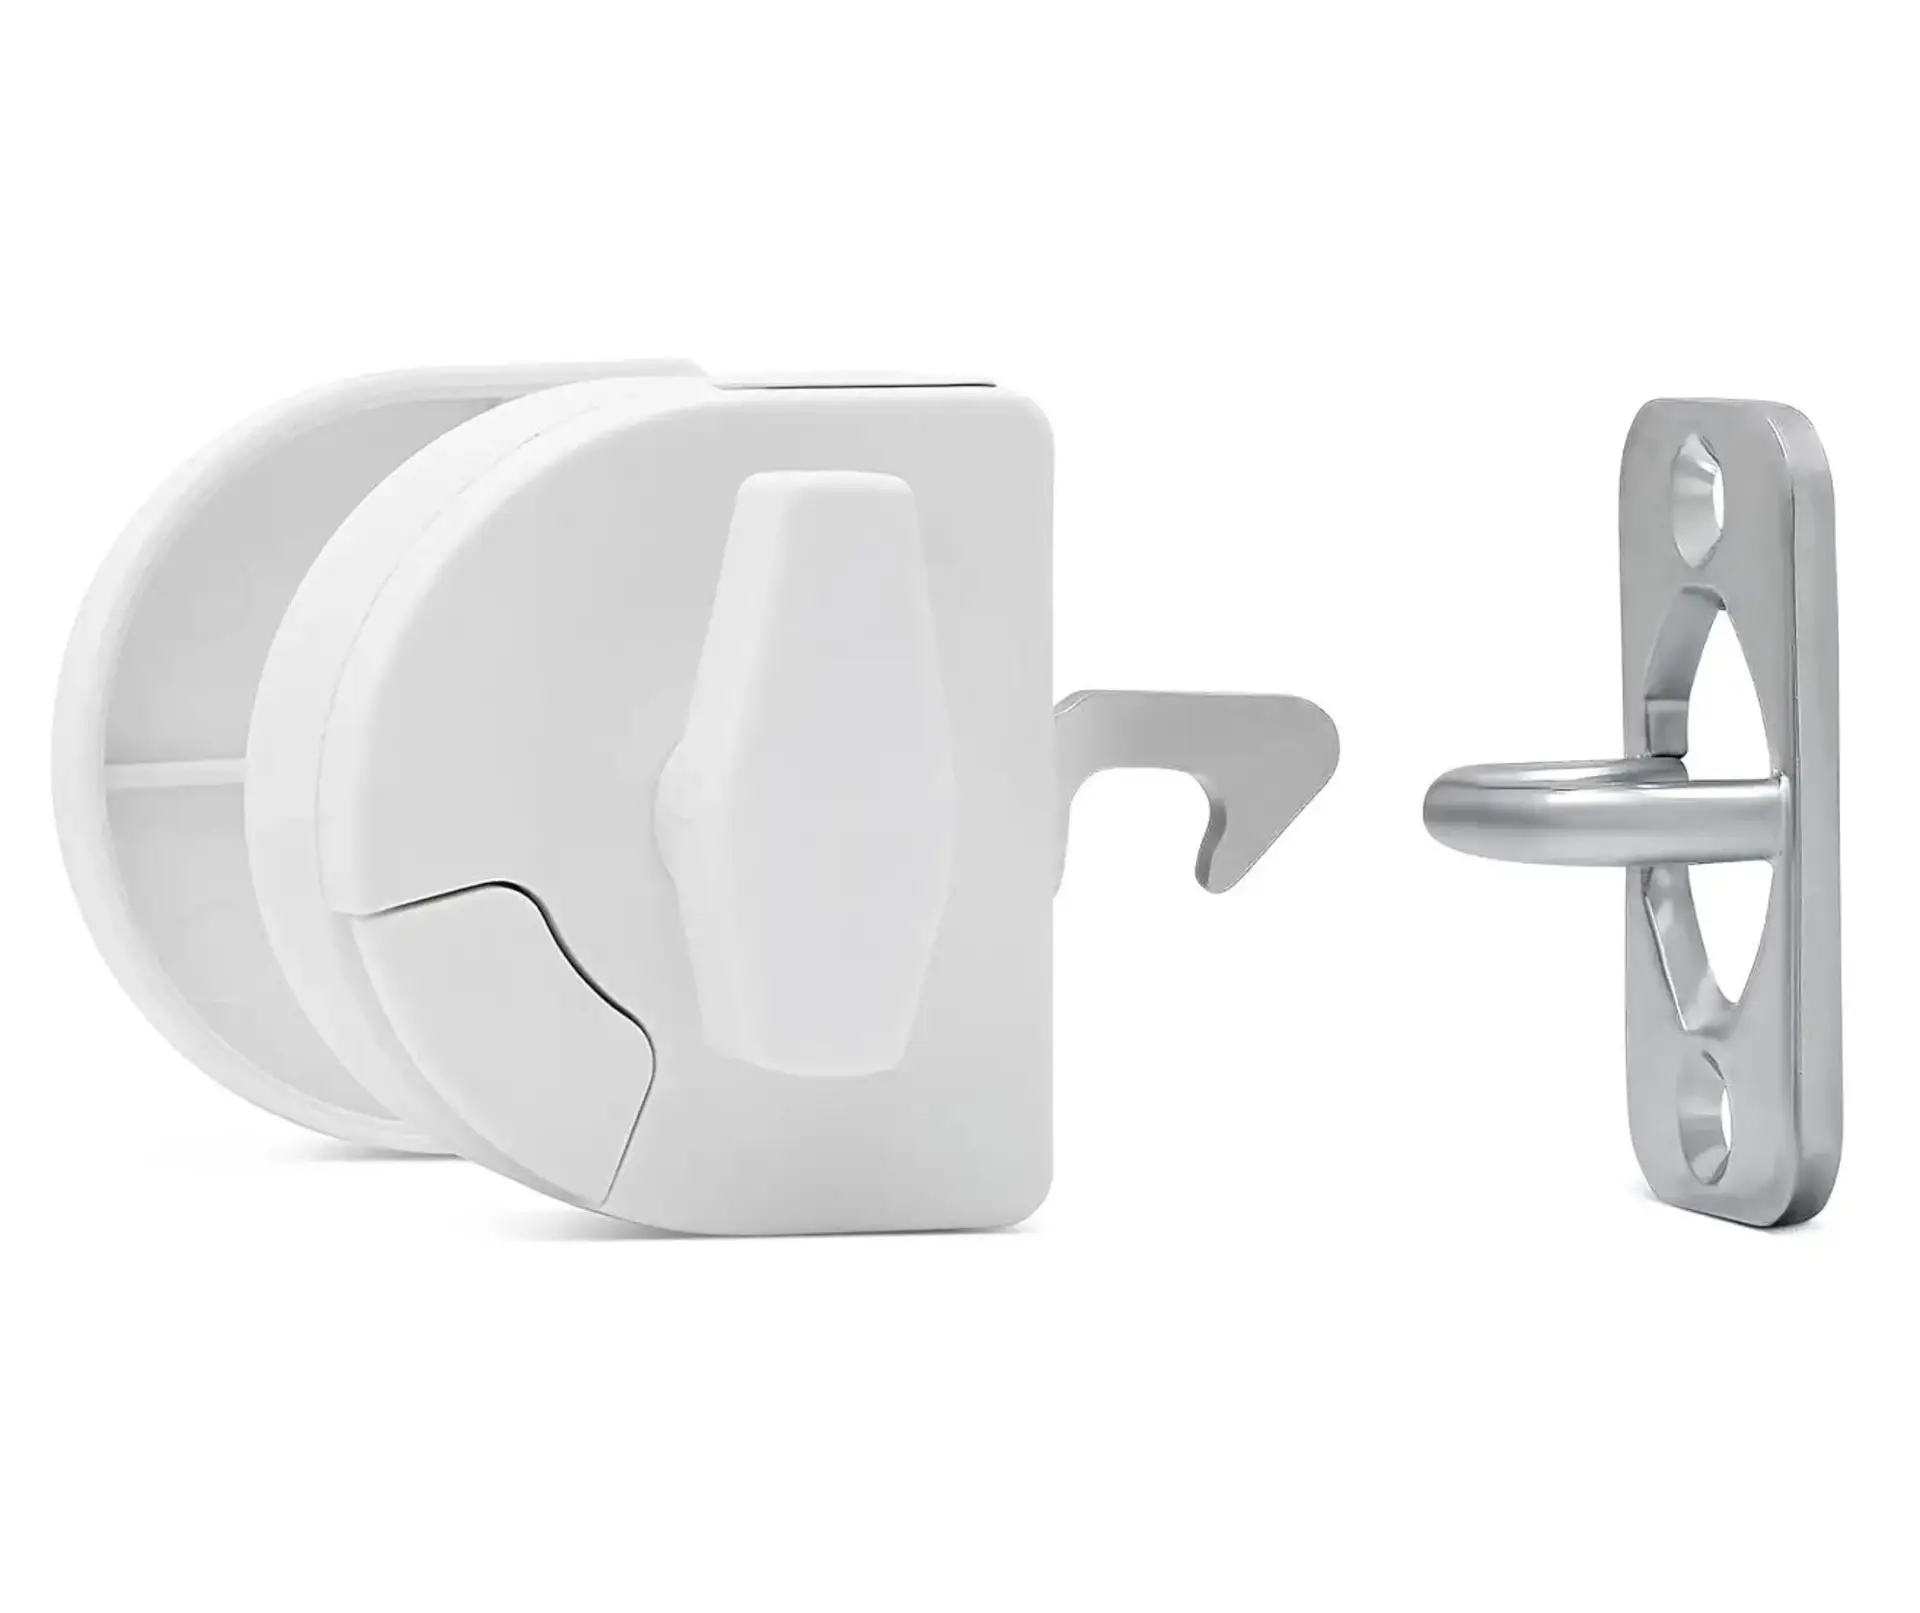
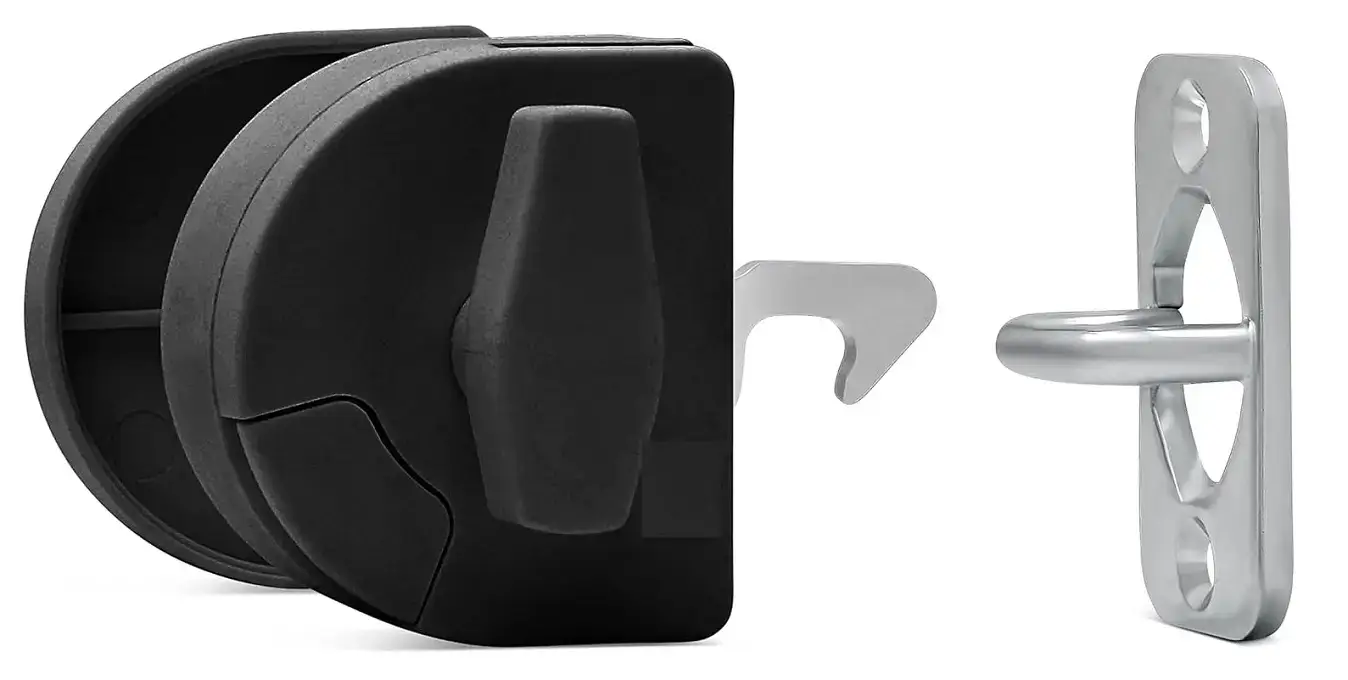
Pool Safety Door Latch
When it comes to pool safety, sliding door latches play a crucial role in preventing unauthorized or accidental access, especially for households with children. Many regions have specific pool safety regulations that dictate the type of latches required for sliding doors leading to pool areas.
Sliding door catches are a simple yet vital component of pool safety. By securing your sliding doors, you can prevent accidents, comply with safety regulations, and enjoy greater peace of mind. With a variety of options available, you can find the perfect catch to suit your needs and keep your pool area safe for everyone. Here are some key considerations and requirements for sliding door latches to meet pool safety standards.
-
Self-Closing and Self-Latching Mechanisms
- Self-Closing: Sliding doors must automatically close and latch securely without manual intervention. This ensures the door is never left open accidentally.
- Self-Latching: The latch must engage automatically when the door closes, and it should be positioned high enough (typically 1.5m or higher from the floor) to prevent young children from reaching it.
-
Height Requirements
- The latch must be installed at a height that is out of reach for small children. Most regulations require the latch to be at least 1.5m above the floor.
-
Child-Resistant Design
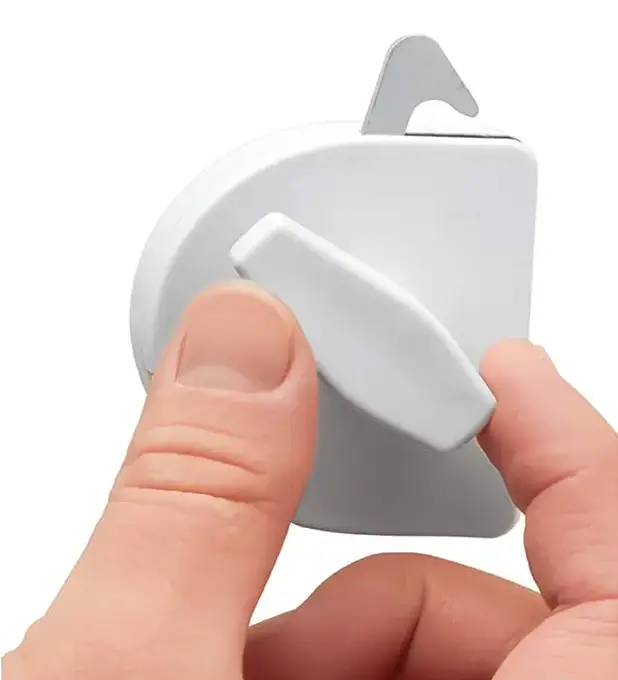
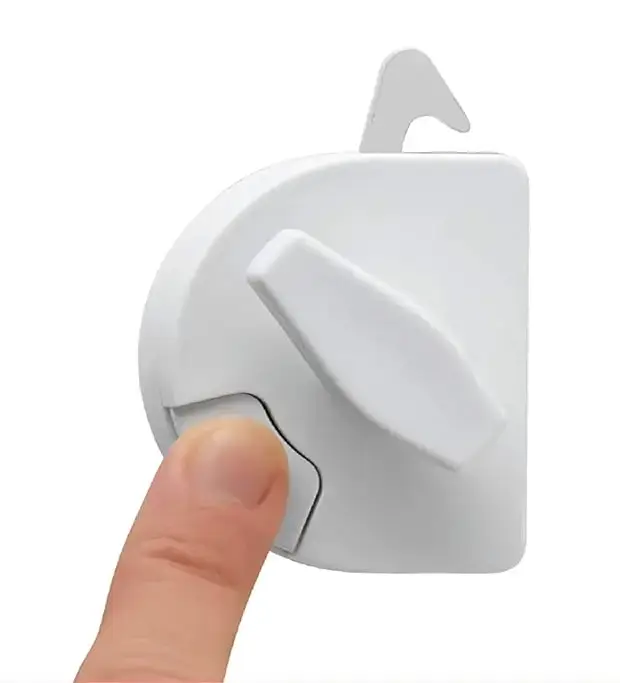
- The latch should be designed to prevent easy operation by young children. This often involves requiring dual actions to open the door, such as lifting and sliding simultaneously.
-
Pool Safe Compliance with Local Codes
- Pool safety regulations vary by region, so it’s essential to check local building codes and pool safety laws. For example:
– In Australia, the Australian Standard AS 1926.1 outlines pool safety standards, including door latches.
– In the U.S., the Virginia Graeme Baker Pool and Spa Safety Act and local state codes often dictate requirements.
-
Alarms or Additional Safety Measures
- Some regulations may require additional safety features, such as door alarms that sound when the door is opened. These alarms serve as an extra layer of protection.
Recommended Products:
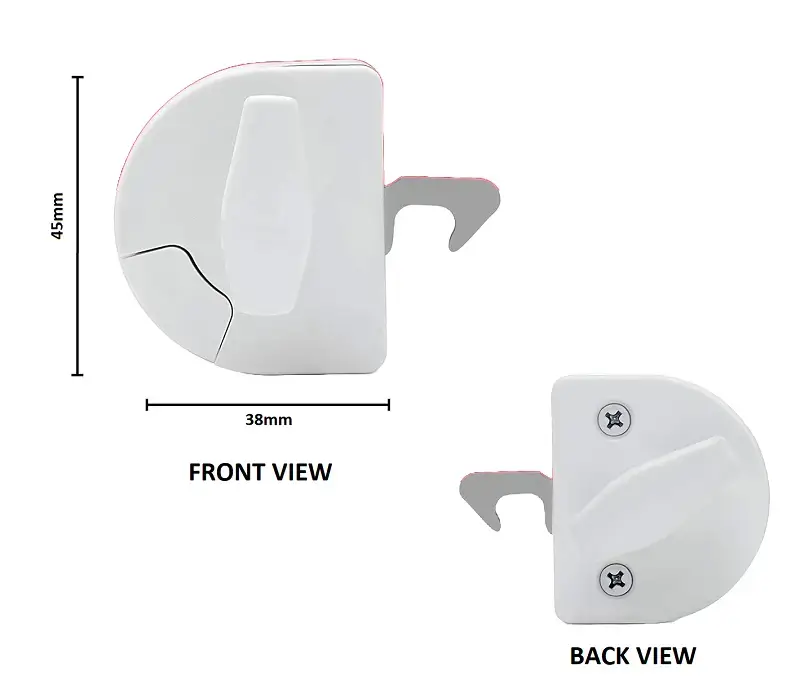
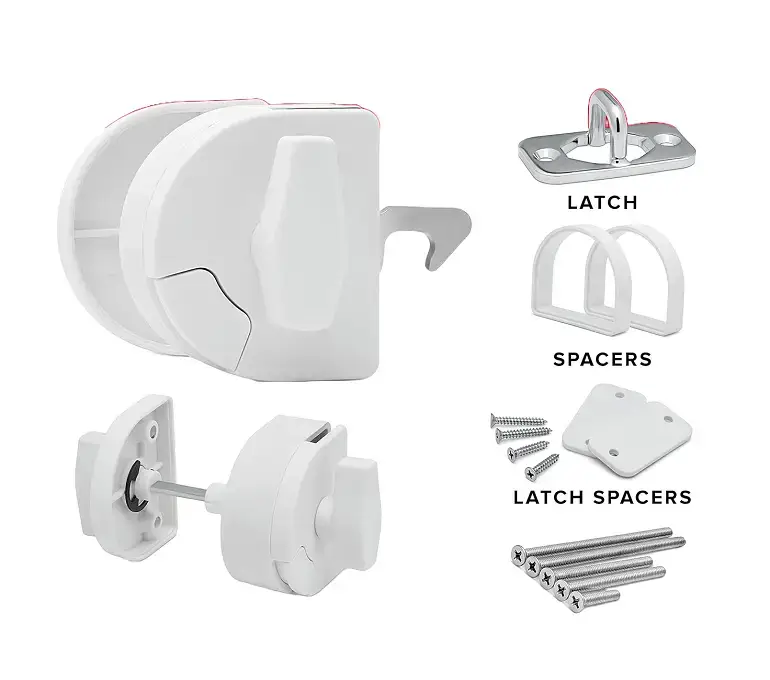
- Pool-Safe Sliding Door Latches: Look for latches specifically designed for pool safety, such as those with high-mounted, self-latching mechanisms.
- Aftermarket Safety Devices:** If your existing sliding door doesn’t meet safety standards, consider installing aftermarket devices like latch guards or alarms.
Installation Tips:
- Hire a professional to ensure the latch is installed correctly and complies with local regulations.
- Regularly inspect and maintain the latch to ensure it remains functional and secure.
By adhering to these requirements, you can help ensure your sliding doors meet pool safety standards and reduce the risk of accidents. Always consult local authorities or a pool safety professional to confirm compliance with your area’s specific regulations.
Disclaimer: This checklist is educational only and does not replace a professional pool inspection.


